
10 Tips for a Better Abdominal Ultrasound in General Practice
You have a new machine and the demo images were beautiful. Since then, your studies have varied from patient to patient.
In one patient, the images you acquire look great. The next patient, the stomach is full of gas, you can’t find the pancreas and you are not sure whether that structure is an adrenal gland, lymph node, or an artifact.
Better abdominal ultrasound studies do not require a more expensive or higher end machine. And they don’t require you to be a specialist, either.
Diagnostic abdominal studies start with a repeatable approach to patient preparation, machine settings, probe movement, anatomy, and image acquisition. That matters whether you read the study yourself or send it out. A specialist can only interpret what you save.
The goal is to acquire a complete and diagnostic abdominal ultrasound even as a non-radiologist veterinarian.
Here are 10 ways to improve the abdominal ultrasound studies you acquire in general practice.
1. Prepare the Patient Before You Pick Up the Probe
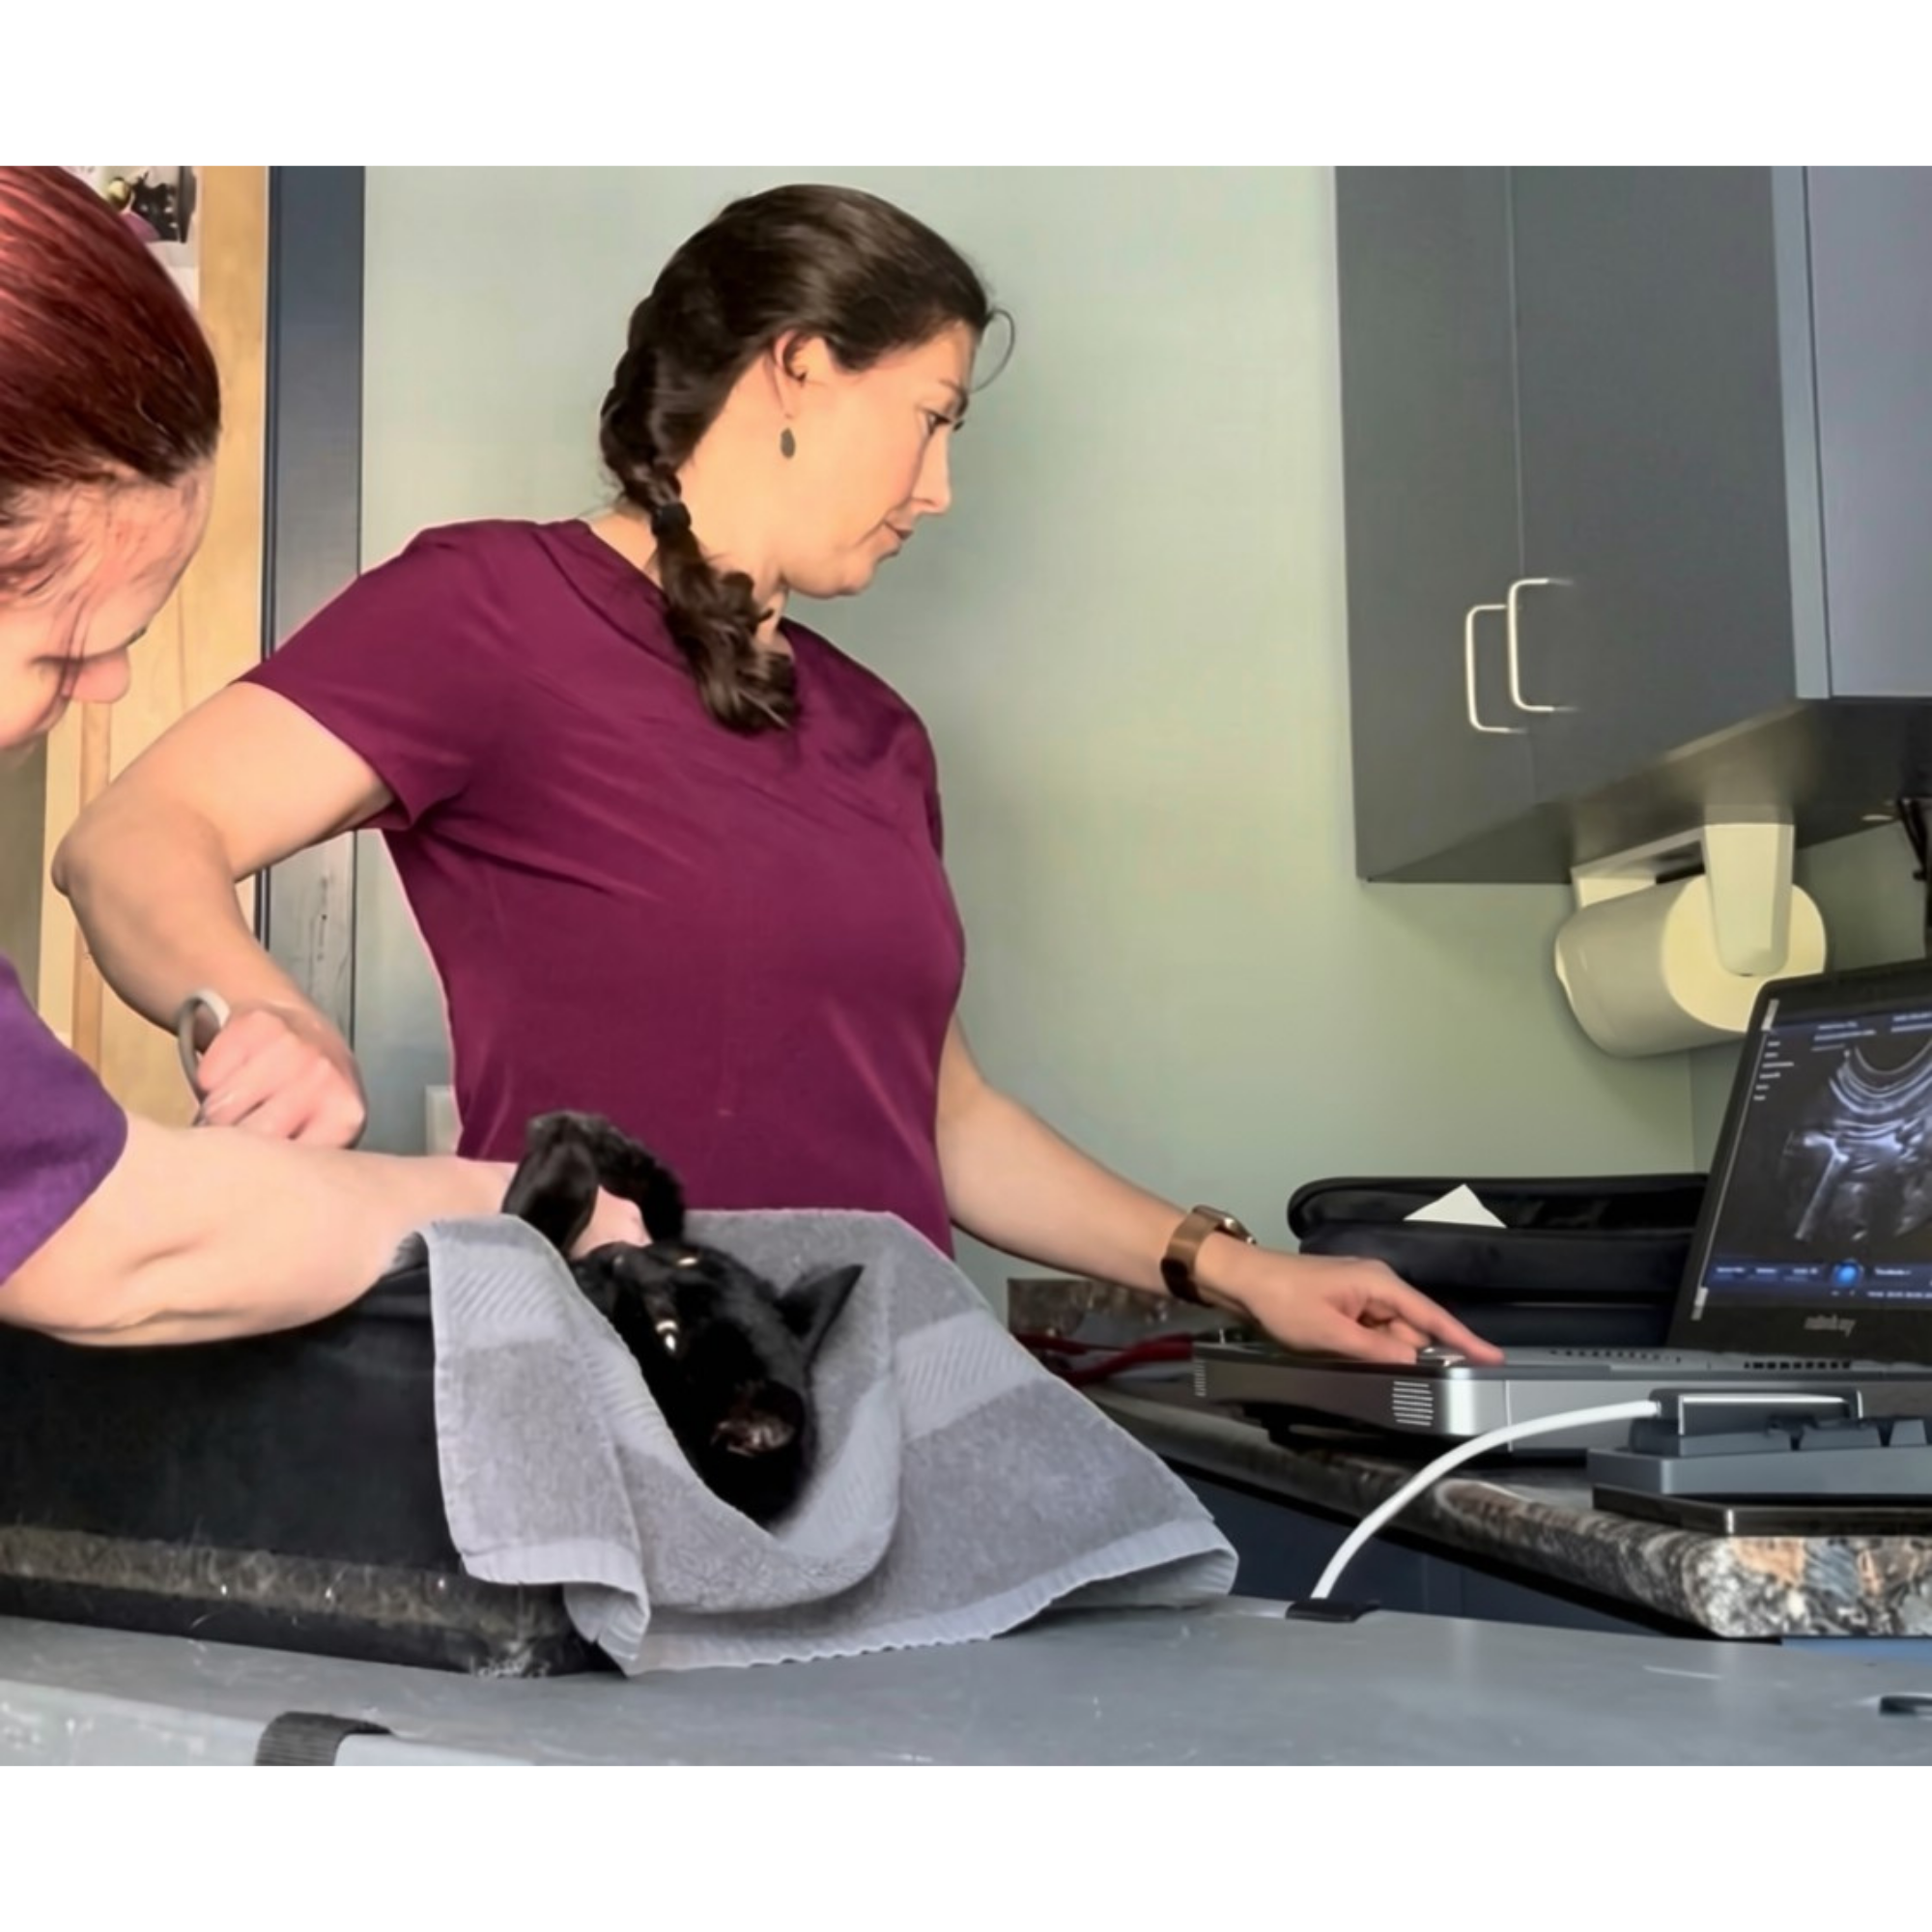
When possible:
Fast the patient for 4–8 hours, if possible, to reduce gas and ingesta.
Shave from xyphoid to pelvic brim.
In dogs, additionally shave cranially 1–2 intercostal spaces to give yourself an intercostal window for the liver, gallbladder, and right kidney.
Use adequate ultrasound gel and reapply it if image quality declines.
Scan in a consistent position. Dorsal recumbency provides repeatable anatomy and makes it easier to develop a standardized technique. It’s much easier to picture the ultrasound anatomy when in dorsal since it aligns with anatomy on a ventrodorsal radiograph and in surgery.
Preparation at the start ensures you are ready to acquire the best quality images possible.
2. Scan the Same Way Every Time
Consistency builds muscle memory so that you won’t need to look at your patient while moving the probe; your focus remains on the screen and image optimization.
For a right-handed sonographer, stand on the patient's right side facing the head. Keep your scanning elbow bent comfortably and hold the probe with your thumb and first two fingers so you can make small, controlled movements. Be careful to avoid unnecessary placing unnecessary pressure from your palm on the fragile probe-cable connection.
Standardize your image orientation too.
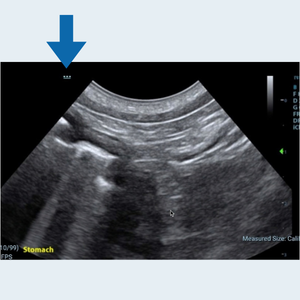
Blue arrow points to the screen marker on the left side of the screen.
For routine abdominal imaging:
Be sure that your screen marker is on the left hand side of the screen for every abdominal ultrasound. This correlates to the marker on the ultrasound probe.
In all longitudinal (sagittal) images, the probe marker points cranially. If you use a different orientation, label the image so the interpreting specialist knows exactly what they are seeing.
In transverse images, the probe is rotated 90 degrees so the marker points to the patient’s right. If you use a different orientation, be sure to label the image.
3. Use the Highest Frequency That Still Gives You Adequate Penetration
Higher frequency improves resolution (think superficial structures). Lower frequency improves penetration (think deep structures).
That means the ideal frequency changes during the same examination.
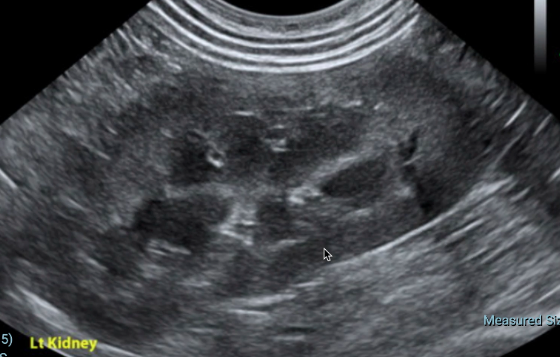
A superficial left kidney in a small dog may look best at a higher frequency with a curvilinear or even with a linear probe, while the right kidney in a large dog may require a lower frequency.
Tip: If the far (deep) field stays dark and grainy despite adjusting gain, decrease the frequency and switch probes if needed.
4. Adjust Depth, Focus, Gain, and TGC as You Scan
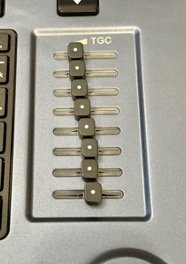
Time Gain Compensation (TGC) sliders may be manual, as seen here, or touchscreen depending on your ultrasound model.
Do not set your machine once and leave it there for the entire abdomen.
Know where to find and how to adjust these four controls on the ultrasound:
Depth: Make the organ large enough to evaluate without losing orientation.
Focus: Position the focal zone within the organ you are evaluating.
Gain: Avoid an image that is either too dark or washed out.
Time Gain Compensation or TGC: Adjust brightness selectively through the near and far fields.
The settings that optimize images of the spleen will not necessarily optimize the right adrenal gland.
Adjust as you move through the abdomen to optimize your image quality.
5. Finding an Organ Is Not the Same as Evaluating It
Once you identify an organ, scan through it.
Four probe movements are fundamental to thoroughly evaluate each organ and avoid missed pathology:
Fan: sweep through the organ slice by slice.
Rock: bring a structure at the edge of the screen into the center of the screen.
Slide: move along the length of an organ or travel to the next structure while evaluating the tissues between.
Rotate: move between longitudinal and transverse planes.
Evaluate each organ in more than one plane every time.
Start with the probe in longitudinal. Then fan through the organ, slide along the organ from pole to pole, and then rotate the probe 90 degrees and repeat. This is how you avoid missing pathology.
A single still image does not demonstrate that the entire organ was examined and this leads to ambiguity in your specialist interpretation of the study.
Want a step-by-step system to acquire a diagnostic abdominal study?
The Complete Scan Protocol is an upcoming multi-module on-demand course for veterinarians and veterinary sonographers focused specifically on how to systematically obtain a complete diagnostic abdominal ultrasound study from start to finish.
6. Scan in the Same Order on Every Patient
Pick a complete abdominal protocol and repeat it on every patient. For every scan.
Avoid tunnel vision. Do not skip the rest of the scan order because you find an abnormality early. Note it, save some images or cinematic loops and note the region to come back to once you’ve completed the full scan. Once you complete your full protocol, return to the pathology for additional imaging and investigation.
Finish with a systematic sweep through the abdomen. This helps you evaluate regions between individual organs, including bowel, mesentery, omentum, and lymph nodes, that are easier to miss when scanning organ by organ.
Be sure to stop if pathology is noted during the sweep and take clear still frames and cinematic loops of pathology. The sweep gives you a second chance to evaluate the major abdominal organs too to avoid missed pathology.
A standardized scan order reduces skipped structures and makes complete studies more reproducible.
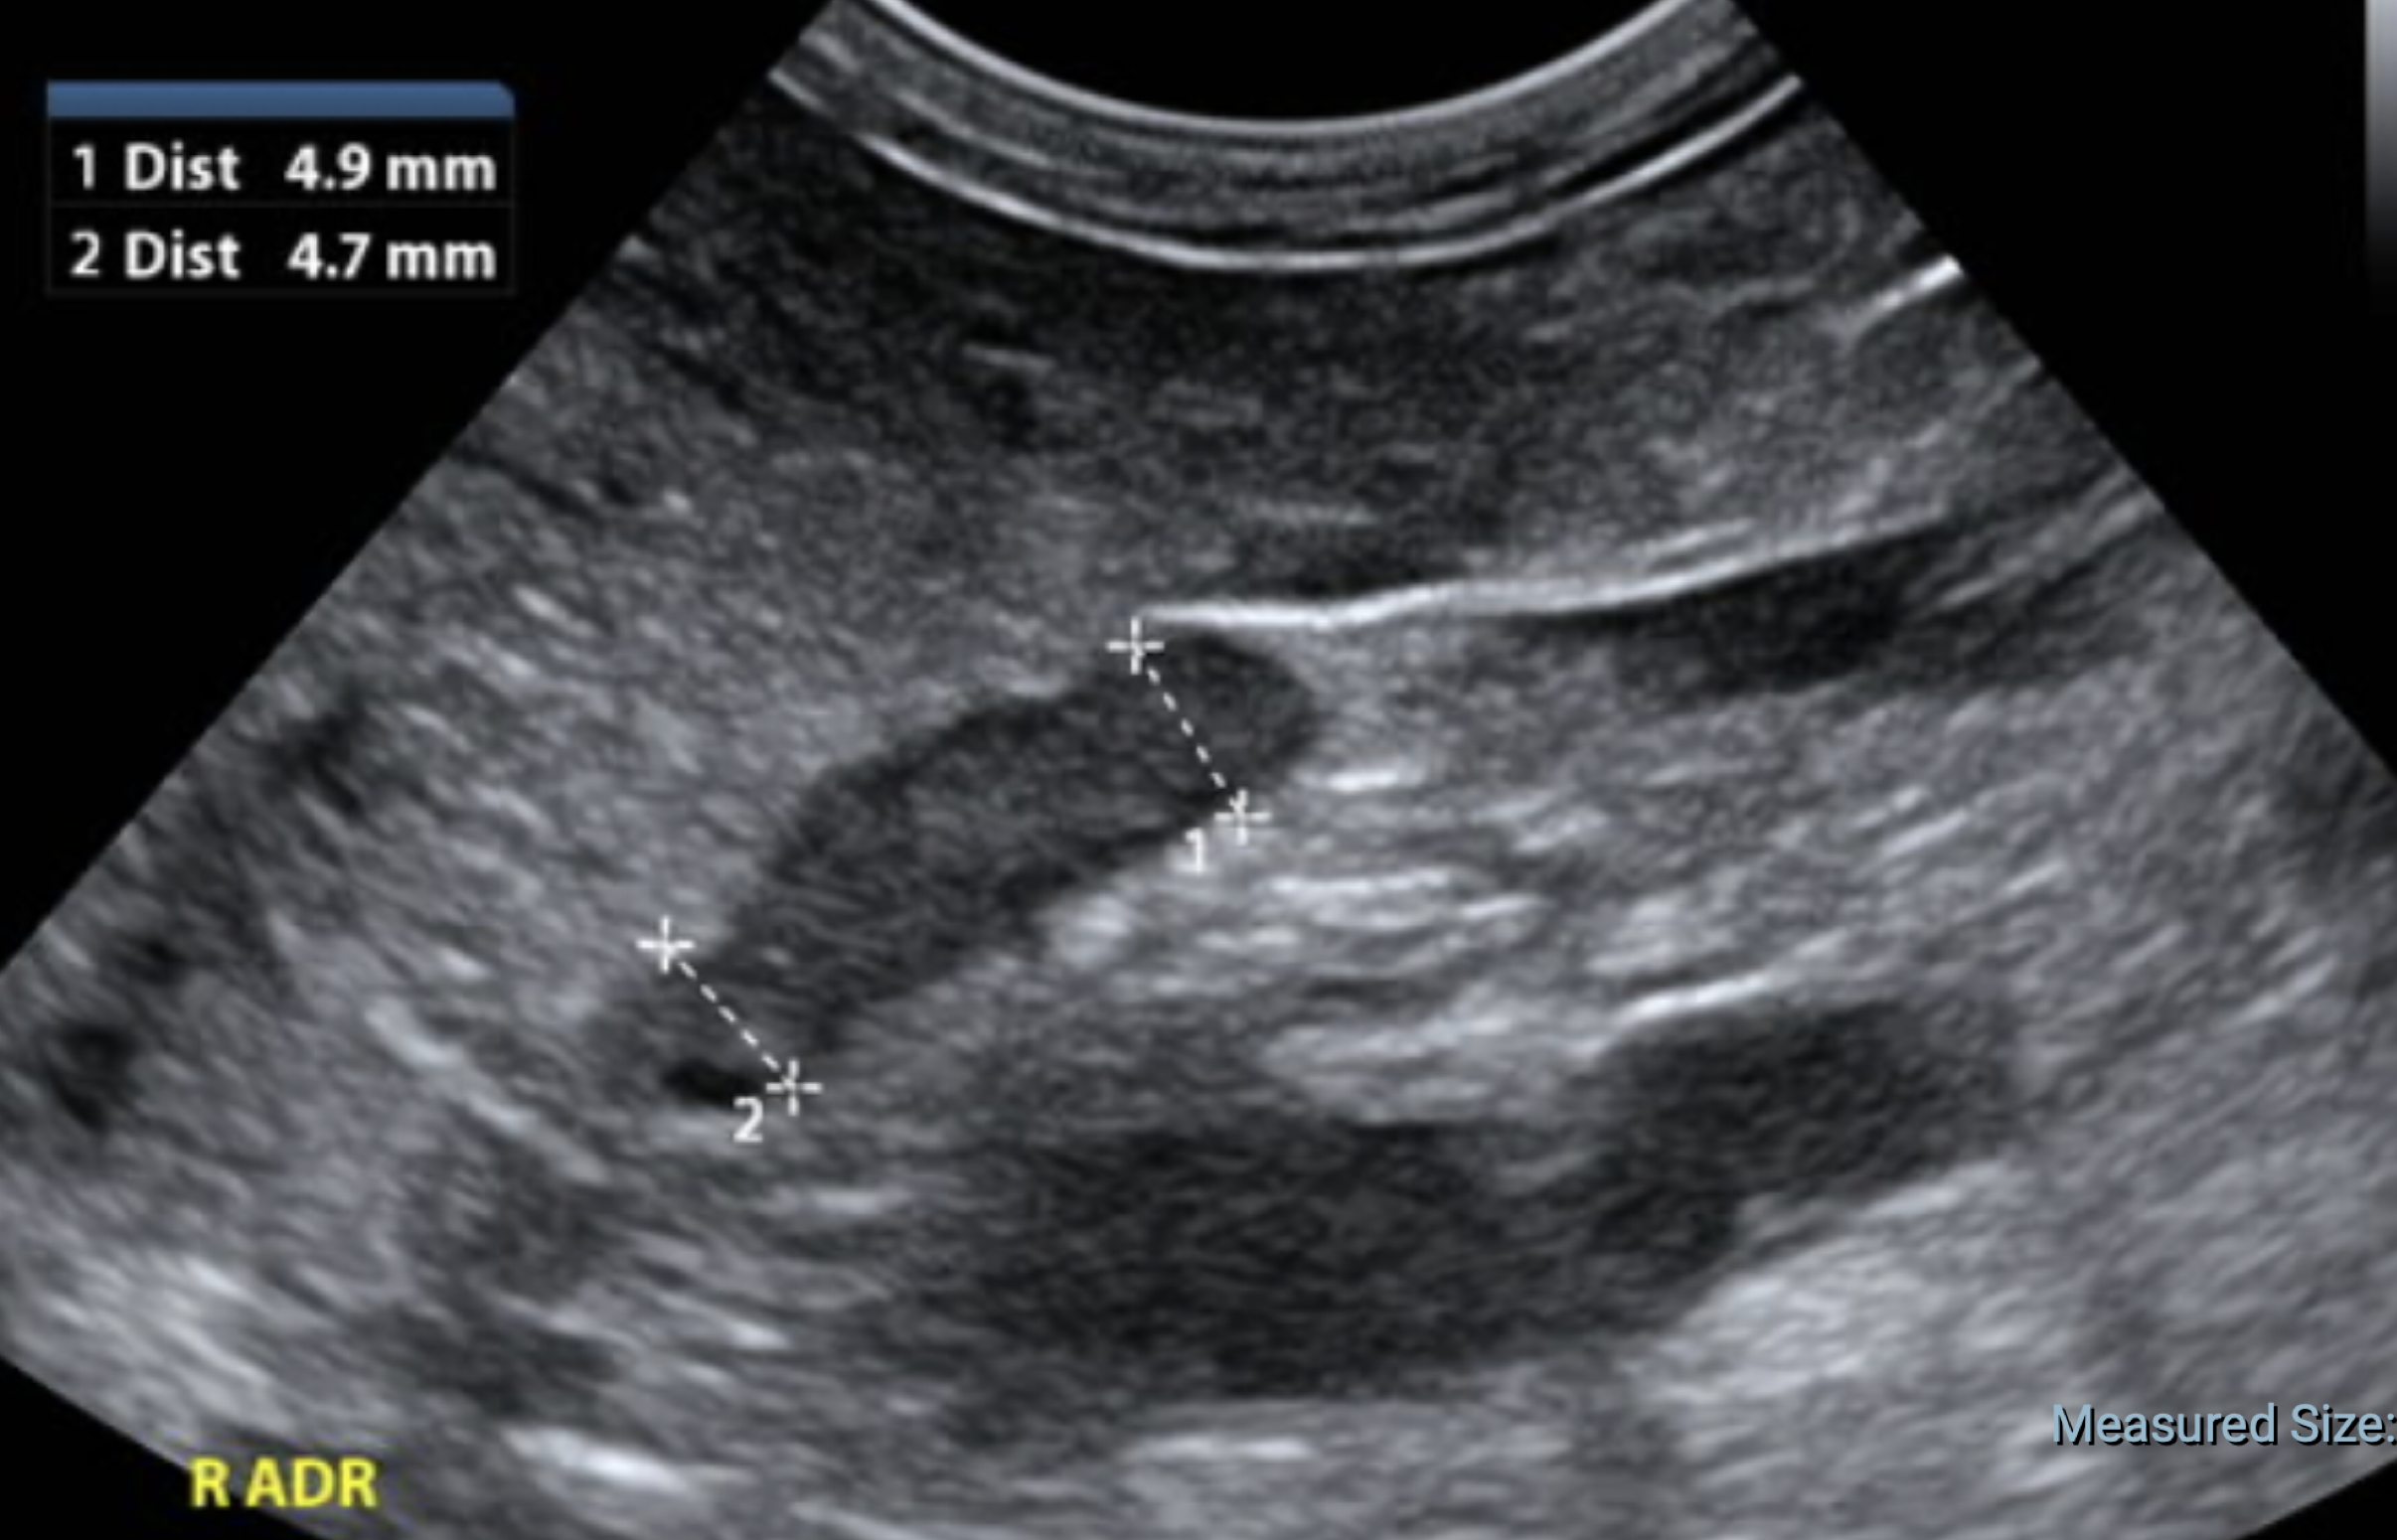
Right adrenal gland sits between the caudal vena cava and aorta
7. Use Landmarks to Search for Difficult-to-Find Organs
The pancreas and adrenal glands become much easier to find when you stop scanning randomly and learn their sonographic relationships to structures you already recognize.
Examples include:
Right pancreas: use the duodenum in transverse and the pancreatic duct as your landmarks.
Left pancreas: slide caudally while fanning starting at gastric fundus toward the transverse colon and spleen.
Left adrenal: begin with the left kidney in longitudinal, apply pressure while slowly fanning medially to visualize the adrenal and phrenicoabdominal vein.
Right adrenal: use the right kidney in transverse, apply pressure while slowly fanning medially until you visualize the caudal vena cava and aorta.
Pancreas & adrenals take practice but the goal is to learn the landmarks so that you find these structures every scan.
This is exactly the type of step-by-step acquisition technique we expand on in the Complete Scan Protocol.
8. Know the Artifacts That Can Fool You
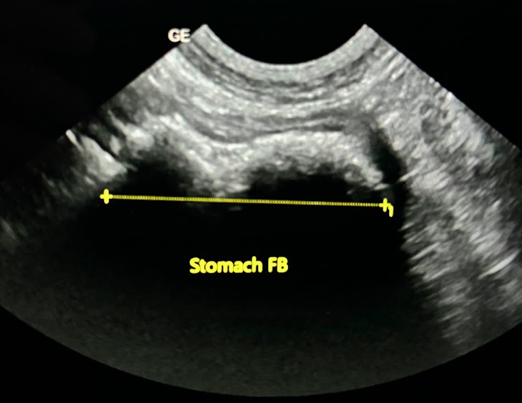
Clean distal acoustic shadow resulting from a gastric foreign body.
Some of the most common ultrasound interpretation errors begin during image acquisition.
Know how to recognize:
Clean (black) distal acoustic shadow: deep to mineral or a foreign body
Dirty (grey-white) distal acoustic shadow: gas within the lumen will obscure the deep luminal wall and structures deep to it
Acoustic enhancement: falsely hyperechoic (bright) tissue deep to fluid filled structures
Reverberation: evenly spaced echos deeper in the image from gas or small mineral densities
Mirror image: liver and gallbladder appearance reflected across the diaphragm
Slice thickness: produces the appearance of pseudosludge in the gallbladder or bladder
Twinkle artifact: rapidly changing color Doppler signal around stones, often falsely assessed as blood flow
A useful image acquisition check: If a finding appears in only one plane or changes when you alter your angle, gain, or imaging window, investigate further before deciding it represents pathology.
9. If You Cannot Visualize the Structure, Reposition and Come Back
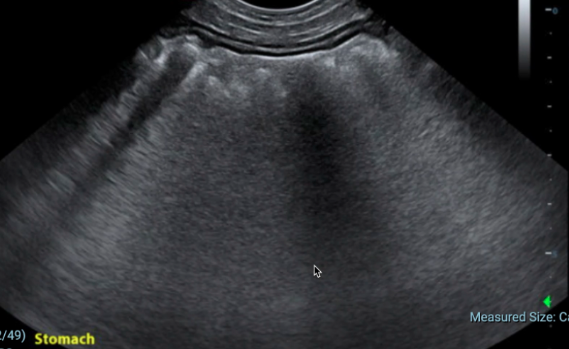
Gas shadowing obscures visualization of the far gastric wall and gastric contents, including foreign bodies.
Gas is one of the biggest obstacles to abdominal ultrasound.
Avoid saving nondiagnostic gastric or intestinal view with gas shadowing obscuring visualization.
Instead, finish the rest of your examination, and return to the gas filled organ to re-evaluate . Peristalsis may have moved the gas or ingesta, especially in the bowel.
For significant gastric gas, you may need to change the patient's position to visualize the stomach wall and luminal contents.
Lateral or standing views can shift gas and reveal structures that were obscured in dorsal recumbency.
Just be sure to label your images with the patient position and the organ you are evaluating (ie. standing stomach).
The same principle applies to suspected urinary sediment or cystoliths. Repositioning the patient and reassessing the bladder can provide useful additional information.
10. Save Clear Diagnostic Images, Not Just Images
Do not hit Save simply because the organ is on the screen.
For still images:
Freeze the image.
Scroll backward through the captured frames.
Select the sharpest, best-focused frame.
Label it appropriately.
For cine loops, move slowly. Fast probe movement creates motion artifact and decreases the diagnostic value of the clip.
Save normal structures too. They provide context for the abnormalities you identify.
Remember that the veterinarian interpreting your study was not standing beside you during the scan. You saw the entire abdomen in real time. The referral specialist see only the still images and cine loops you send.
Labeling, orientation, complete organ coverage, and image quality matter.
Better Acquisition Leads to Better Interpretation
You do not need to become a radiologist to improve the quality of the abdominal ultrasound studies you perform.
You need a repeatable complete scan protocol.
Prepare the patient consistently. Optimize the machine for each region. Know how to move the probe. Use landmarks. Scan every organ completely. Save images deliberately.
Then decide what you need next.
Need an Answer on Your Patient Today?
If you have completed an abdominal ultrasound and want specialist input before making your next clinical decision, submit your still images and cine loops to DVM STAT for review by a board-certified specialist.
Want to Improve the Studies You Acquire?
The Complete Scan Protocol is being developed for veterinarians and veterinary sonographers who want a systematic approach to acquiring a complete diagnostic abdominal ultrasound.
The course focuses on acquisition of diagnostic complete abdominal ultrasounds.
You will learn how to approach the abdomen in a consistent, repeatable sequence so you know where to place the probe how to find each structure, and what images you need to obtain before calling the study complete.
Be first to know when enrollment opens.